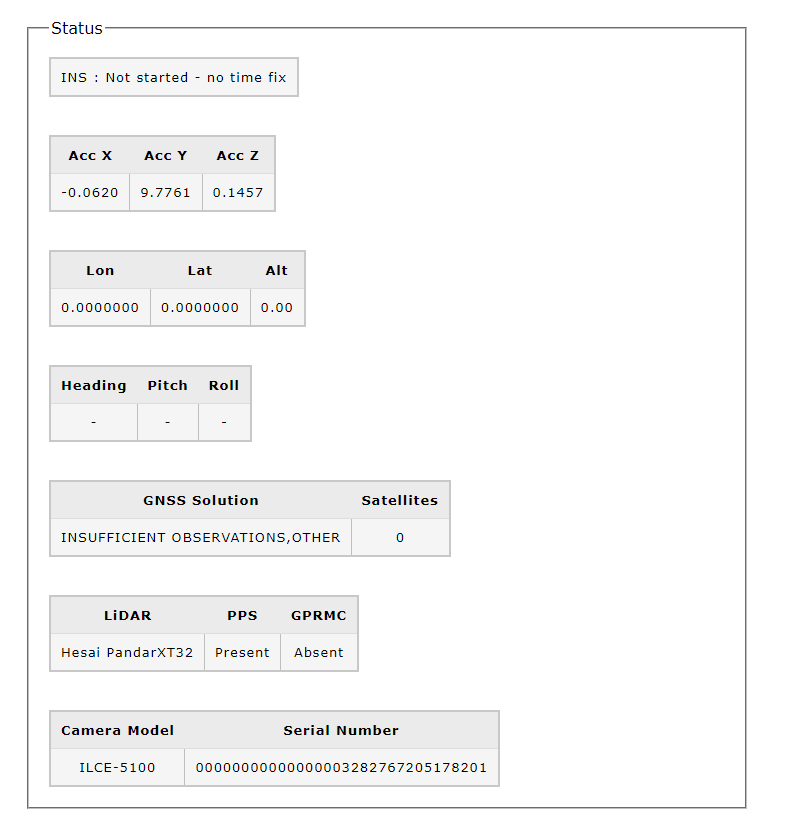
The “Status” panel for RESEPI and EchoONE provides real-time information about the payload. It displays data on accelerations, position, attitude, GNSS status, LiDAR status, and camera status, as shown below. If RTK with RTCM Corrections is being used, information about the base station’s location will appear here. For dual antenna setups, the status of both the primary and secondary antennas will be displayed.
The SLAM Settings menu allows the user to configure SLAM post processing settings prior to recording a dataset to allow for faster workflows. Using Outdoor settings (default) will configure the post processing GUI to use those settings along with geo-referencing. Using Indoor settings will configure the post processing GUI to use those settings along with turning off georeferencing. After selecting the desired setting, the Save button should be pressed to apply changes.
A slam.pcmp file will be created in every recording, with the settings set to Outdoor, unless configured otherwise. This is the same case for the ppk.pcmp and rtk.pcmp files. If the users desire their own custom settings for post processing, they may configure the GUI in PCMasterPro prior to opening the project file.
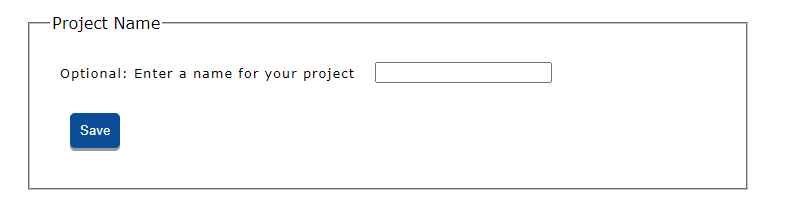
The Project Name option allows users to enter a custom project name, as shown below. This name will be prefixed to the automatically configured flight name. Enter the desired project name and click “Save” to apply it.
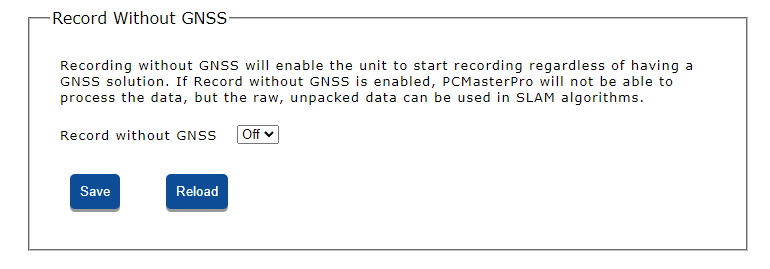
Users can begin recording data without sufficient or any satellite coverage by setting this option to “On”, as shown below. In this case, data recording will be performed for SLAM. Click “Save” to apply the selection or “Reload” to refresh the current selection.
Below the “Status” option is the “Data Recording” option, where users can toggle between “Start” and “Stop”, as shown below.
Start Recording: When ready to record data, click “Start”. Keep the carrier object static for the duration set in the “Static Alignment” option. Once this time has passed, normal operation can continue.
Note: The message “INS: Waiting for high velocity” will appear until the carrier object reaches a velocity of four meters per second for four seconds.
Stop Recording: When finished recording data, click the “Stop” button.
Shutdown: If finished using the payload, click the “Shutdown” button at the bottom of the Status Menu Window to power off and disconnect from the unit.