Streaming a Point Cloud from RESEPI #
PCMasterPro (version 1.13 and above) enables RESEPI GEN-II or EchoONE users to stream LiDAR point clouds in real time for immediate visualization and verification during field operations.
To begin streaming the point cloud:
Power on the RESEPI GEN-II or EchoONE unit
Ensure the system is properly powered up before proceeding.Establish a connection
Connect your host device to the RESEPI GEN-II or EchoONE unit using one of the following methods:Wi-Fi: Connect to the RESEPI’s or EchoONE’s broadcasted wireless network.
Ethernet: Connect an Ethernet cable directly between the unit and your host device (You can procure a compatible ethernet cable from sales@inertiallabs.com) .
Launch the PCMasterPro application
Open the PCMasterPro software on your device.Navigate to the Data Streaming section
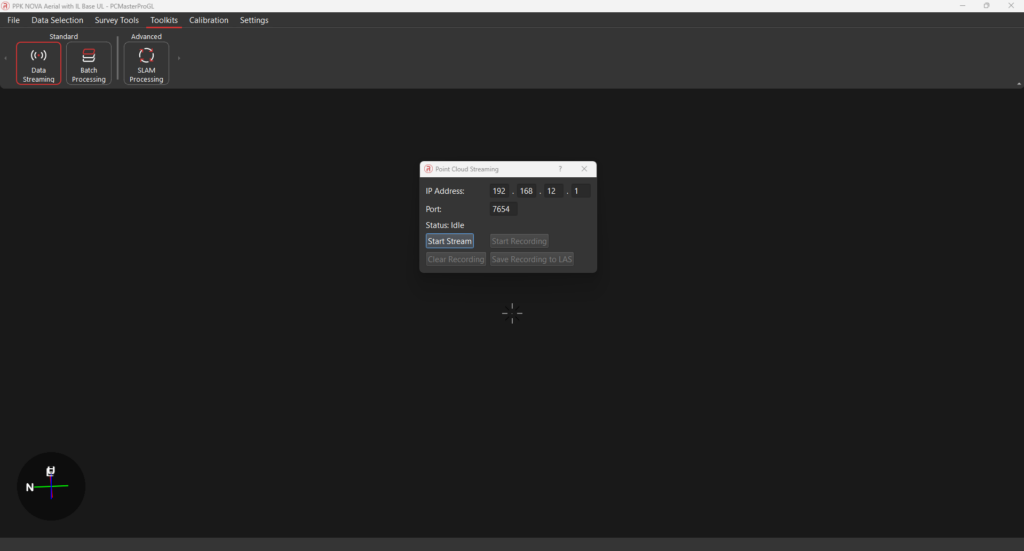
In the application, go to the Data Streaming tab, then click on Settings to configure the streaming connection.Enter the appropriate IP address
Depending on your connection method, enter the correct IP address:Wi-Fi:
192.168.12.1Ethernet:
192.168.13.1
Start the stream
After verifying the IP address and connection settings, click on the Start Stream button.
You should now see the point cloud begin to stream live on your screen, updating in real time as data is captured by the LiDAR.- Save the streamed point
To save a streaming session, click on Start Recording after streaming has started. After the streaming is completed, you can save the displayed point cloud on your screen in .las format by click Save the streamed point button. You will prompted to choose the location to save the saved point cloud.